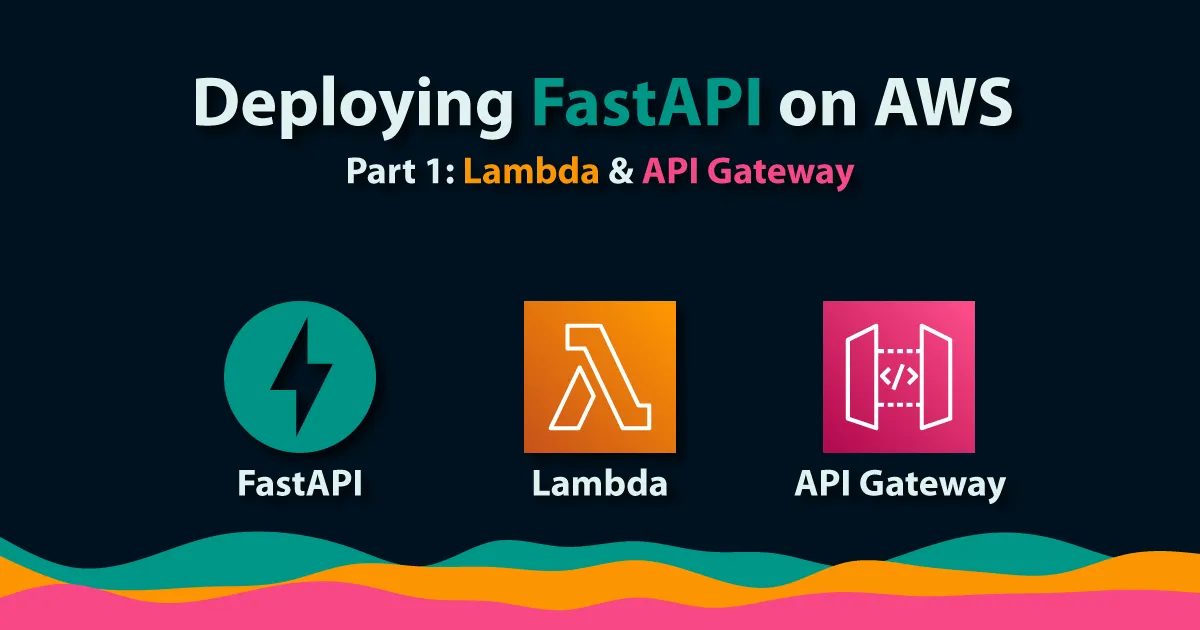
Deploy FastAPI on AWS Part 1: Lambda & API Gateway
Ever wondered how easy it is to deploy FastAPI on AWS? In this post I will show you how to create a minimal API application, how to test it locally, and finally how to deploy it on AWS Lambda & AWS API Gateway using AWS SAM.
Repository link
Introduction
FastAPI is a Python framework for creating production-ready APIs, made by Sebastián Ramírez AKA tiangolo. It’s fast (both when it comes to performance and developer speed), easy to get started with, and an absolute joy to work with.
In this two-part series you will learn how to create and deploy a minimal FastAPI application on AWS in a serverless fashion.
In part 1, you will learn how to deploy FastAPI inside a Lambda function that sits behind an API Gateway, and how to deploy the application using SAM.
In part 2, you will instead learn how to package FastAPI inside a container and deploy it on AWS Fargate, the serverless container platform. Here we will use an Application Load Balancer instead of API Gateway, and this time we will define and deploy the application using AWS Cloud Development Kit (CDK).
Are you ready to dip your toes into the world of serverless? Keep reading!
Requirements
- Python
- AWS SAM CLI
- Docker (for running locally)
Tutorial
1. Create a directory for your application
To start, create a new directory and cd into it.
$ mkdir fastapi-on-lambda$ cd fastapi-on-lambda2. Create a simple FastAPI application
We will create a very simple FastAPI application with a single route, /. To bridge the gap between the Lambda event payload and FastAPI we will use a library called mangum. This library acts as an adapter for ASGI applications running inside a Lambda that’s invoked by AWS API Gateway.
from fastapi import FastAPIfrom mangum import Mangum
app = FastAPI()
@app.get("/")def get_root(): return {"message": "FastAPI running in a Lambda function"}
handler = Mangum(app)Save the above in a file with the path src/app/__init__.py.
3. Specify runtime dependencies
To run our function we will need to install a couple of third-party dependencies. We can tell SAM to install and bundle these dependencies together with our function by creating a requirements.txt file.
fastapimangumSave the above in a file with the path src/requirements.txt.
4. Create a SAM template
We will use AWS SAM CLI to deploy our application. To do that we will create a template.yaml to define our resources.
AWSTemplateFormatVersion: '2010-09-09'Transform: AWS::Serverless-2016-10-31Description: FastAPI on Lambda
Resources: Function: Type: AWS::Serverless::Function Properties: FunctionName: 'FastAPILambda' CodeUri: src Handler: app.handler Runtime: python3.9 Events: Api: Type: HttpApi Properties: ApiId: !Ref Api
Api: Type: AWS::Serverless::HttpApi
Outputs: ApiUrl: Description: URL of your API Value: Fn::Sub: 'https://${Api}.execute-api.${AWS::Region}.${AWS::URLSuffix}/'Save the above in template.yaml in the root directory. In the template, we have defined two resources; one Lambda function and one API Gateway.
The Function properties Runtime, Handler and CodeUri lets SAM know that we want our function to run on Python 3.9, that our function code is located in the src/ directory, and that the handler function is app.handler.
The Events property connects the Lambda function to the API Gateway. This is a minimal configuration without any path or method specified. This will create a default route in the API Gateway that will catch all routes and forward them to the Lambda function.
In the Outputs section we have defined an output for the API Gateway endpoint.
5. Test your API locally with SAM CLI
We can now test our API locally with the SAM CLI. First we need to build the application (i.e., install requirements from the requirements.txt file):
$ sam buildWith the application built, we can now start the API locally:
$ sam local start-api
Mounting Function at http://127.0.0.1:3000$default [X-AMAZON-APIGATEWAY-ANY-METHOD]You can now browse to the above endpoints to invoke your functions...2021-12-21 19:59:43 * Running on http://127.0.0.1:3000/ (Press CTRL+C to quit)If everything went as expected, you should now be able to browse to http://127.0.0.1:3000 in your browser, or from the command line:
$ curl localhost:3000
{"message":"FastAPI running in a Lambda function"}6. Deploy your API to AWS
To deploy the API to AWS you need the following:
- An AWS account (duh!).
- Credentials configured for said account.
- An S3 bucket that can hold your SAM assets.
With the above in place we can now use the SAM CLI to deploy our FastAPI application.
$ sam deploy \ --stack-name FastAPIOnLambda \ --s3-bucket YOUR_S3_BUCKET \ --capabilities CAPABILITY_IAM
...
CloudFormation outputs from deployed stack -------------------------------------------------------------------- Outputs -------------------------------------------------------------------- Key ApiUrl Description URL of your API endpoint Value https://XYZ.execute-api.eu-west-1.amazonaws.com/ --------------------------------------------------------------------
Successfully created/updated stack - FastAPIOnLambda in eu-west-1If everything works, and hopefully it does, you should see an output similar to the one above. This means that we have successfully deployed the API.
7. Call your newly deployed API
From the sam deploy output, locate the output value of the ApiUrl key. You should now be able to browse to this domain in a browser, or try it from the command line:
$ curl https://XYZ.execute-api.eu-west-1.amazonaws.com/
{"message":"FastAPI running in a Lambda function"}The power of FastAPI
To get a sneak peek of the power of FastAPI, try navigating to the following URL:
https://XYZ.execute-api.eu-west-1.amazonaws.com/docs
FastAPI generates documentation from your code out-of-the-box. Neat, huh?
(It also supports ReDoc, if the Swagger UI isn’t your thing.)
Cleaning up
To clean up, simply issue the following SAM command:
$ sam delete --stack-name FastAPIOnLambda
Are you sure you want to delete the stack FastAPIOnLambda in the region eu-west-1 ? [y/N]: y Do you want to delete the template file 123123123.template in S3? [y/N]: y
...
Deleted successfullyConclusion
We have now successfully deployed a minimal FastAPI application on AWS Lambda using AWS SAM. This shows how easy it is to utilize Serverless offerings on AWS to get a prototype up and running in record time.
In the upcoming Part 2 we will explore how to run FastAPI on containers in AWS Fargate. We will also see how to deploy an application with the AWS Cloud Development Kit (CDK).
If you want to dig deeper into AWS SAM and how to setup CI/CD using GitHub Actions, look no further.
Until next time!