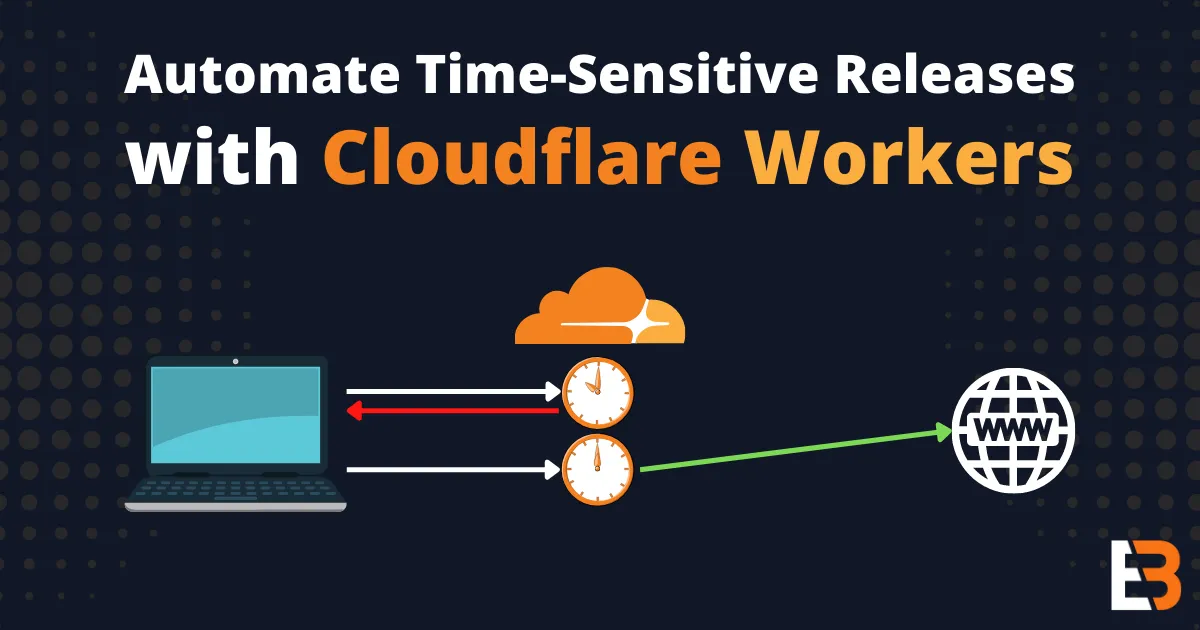
Automate Time-Sensitive Releases with Cloudflare Workers
It’s that time of the week again. A new product is ready to launch. Business and marketing have decided on a time when the new product page should go live. It is imperative that it happens at the exact time specified.
Oh, they want it released at 2 AM when the markets on the other side of the world open? Luckily, you know that it takes approximately 12 minutes to build and deploy your site. You set your alarm to 1:45 AM, to be ready to click the button at 1:48 AM.
Do you recognize yourself in the situation above? Learn how you can automate time-sensitive releases with Cloudflare Workers, without modifying your application.
What are Cloudflare Workers?
Cloudflare Workers is a serverless FaaS offering from Cloudflare. With workers, you can deploy serverless functions across Cloudflare’s global network. These functions are not bound to a region but will be available on all edge locations. This means that customers will see low latencies, wherever they may be.
Cloudflare Workers uses V8 isolates to run functions in isolation. This results in minimal overhead, eliminating cold starts completely.
You can hook up a Worker to a custom domain, like example.com. The Worker will then receive all requests coming to that domain. You can act on incoming request properties, such as request path, headers, query parameters, and more. For example, you could send all /assets/* requests to your S3 bucket and all /api/* requests to an API on AWS API Gateway.
Setup
In this tutorial, we will create an AWS S3 bucket for website hosting. We will then use Cloudflare Workers in front of the bucket.
1. Create S3 bucket
Create a new S3 bucket on AWS.
2. Enable Static Website Hosting
You now need to turn on static website hosting for your bucket. You also need to allow public access to your bucket.
-
In the Properties tab, scroll to the bottom to the Static website hosting module and click on Edit.
- Click the enable radio button.
- Leave Hosting type as Host a static website.
- Set Index document to index.html.
- Set Error document to 404.html.
- Click on Save changes.
-
In the Permissions tab, click Edit on Block public access (bucket settings).
- Uncheck the Block all public access checkbox.
- Click on Save changes.
-
Still in the Permissions tab, click Edit on Bucket policy.
- Insert the following policy:
{"Version": "2012-10-17","Statement": [{"Sid": "PublicReadGetObject","Effect": "Allow","Principal": "*","Action": "s3:GetObject","Resource": "arn:aws:s3:::YOUR_BUCKET_NAME/*"}]}
3. Create and upload website files
Add some dummy HTML files to your bucket with the following directory structure:
index.html404.htmlproduct1/ index.htmlproduct2/ index.html<h1>Home</h1><h1>404</h1><h1>Product 1</h1><h1>Product 2</h1>4. Get your S3 website endpoint
You can find the URL at the bottom of the Properites tab. Try it out in your browser and verify that public access works as it should.
- http://YOUR_BUCKET_URL/ should display your Home page.
- http://YOUR_BUCKET_URL/product1 should display your Product 1 page.
- http://YOUR_BUCKET_URL/product2 should display your Product 2 page.
- http://YOUR_BUCKET_URL/non-existing should display your 404 page.
5. Setup Cloudflare Worker
While you could get a free Cloudflare account and try this out “live”, there’s an even easier way. Cloudflare has a Workers Playground (cloudflareworkers.com) you can play around with.
Go to the playground and add the following code:
// Specify paths that should have timed releases.const pathConfigs = [ { path: '/product1', releaseDate: new Date(Date.UTC(2022, 7, 5, 10, 0, 0)), }, { path: '/product2', releaseDate: new Date(Date.UTC(2050, 7, 5, 10, 0, 0)), },];
export default { async fetch(request) { const req = new URL(request.url); // Specify your bucket (without http:// and trailing /) req.host = 'BUCKET_NAME.s3-website-REGION.amazonaws.com'; // S3 website hosting uses http by default... req.protocol = 'http:'; const currentDate = new Date();
// Check if requested path has a timed release for (const config of pathConfigs) { if (config.path === req.pathname && currentDate < config.releaseDate) { // Product is not released yet. Fetch the 404 page. req.pathname = '/404.html'; const response = await fetch(req.toString()); // You can override the response if you want. // Here, I set the status to 404. return new Response(response.body, { ...response, status: 404 }); } }
// Send request to origin return fetch(req.toString()); },};In the code, we specify two product pages; /product1 and /product2. Product 1 is already released since the releaseDate is in the past. Product 2 is set to release in 2050. If a customer requests an unreleased page, we fetch the error page and return it along with a 404 status code.
Showtime
- In the preview pane of the playground, enter
https://tutorial.cloudflareworkers.com/.- This should display the Home page.
- Enter the URL
https://tutorial.cloudflareworkers.com/non-existing- This should display the 404 page.
- Enter the URL
https://tutorial.cloudflareworkers.com/product1- This should display the Product 1 page.
- Enter the URL
https://tutorial.cloudflareworkers.com/product2- This should display the 404 page since we haven’t released the page yet.
- Update the
releaseDateof Product 2 to be in about a minute.- NOTE: I’ve used UTC to specify the date & time.
- Refresh the preview until you’ve reached the
releaseDate. - You should now see the Product 2 page.
- Well done. You performed a timed release without manual intervention.
Conclusion
Cloudflare Workers lets you handle requests closer to your customers. You can, for example, transform incoming requests without modifying your underlying application. In our case, we made sure that certain pages on our site went live at specific times.